Terrazzo Business Card Template
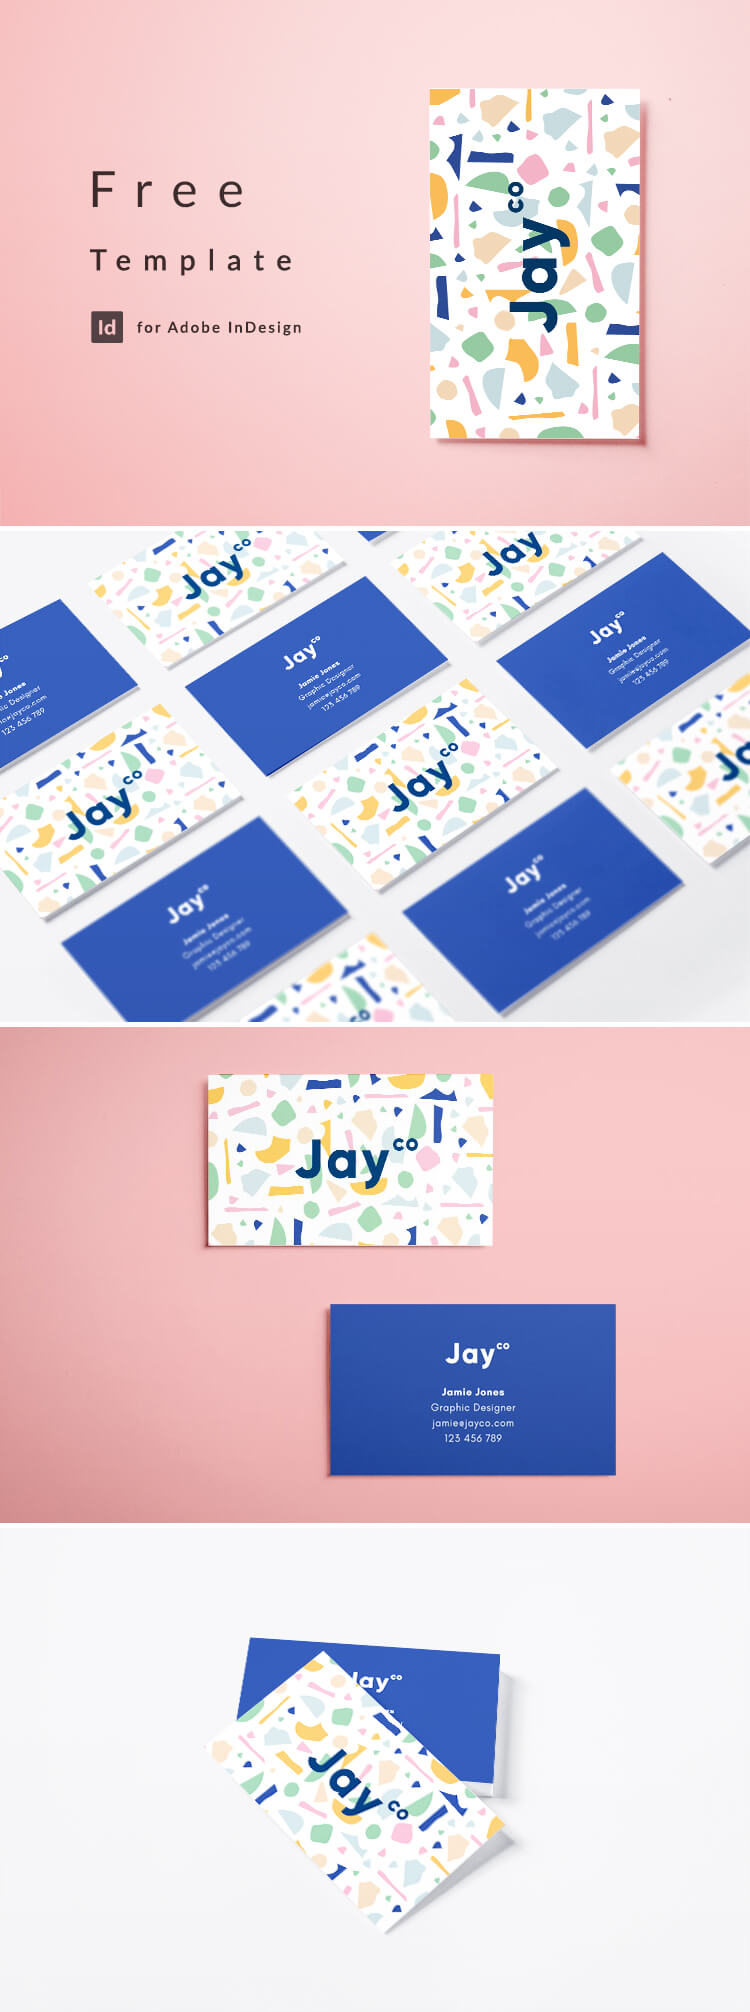
This free InDesign business card template has a simple, colorful design which is easy-to-edit with a stylish terrazzo effect on the back. This on-trend design would be a great fit for creative professionals or anyone in the design industry!
Inspired by terrazzo interiors, this modern business card design combines bright pastel colors with a bold sans serif font.

This InDesign template includes a simple text layout and a terrazzo pattern illustrations created with the shape tool directly in InDesign. It’s easy to change the colors if you’d like to customise the business card design to fit your own branding.
Business card size:
STANDARD
(Need a slightly different size? Learn how to resize this template )
InDesign Business Card Template
Below you can preview the business card design with two different color schemes, download the InDesign file and read up on a few helpful tips for editing your template in InDesign.


Download this business card template for free (includes an INDD file for InDesign CC and IDML file for earlier InDesign versions):
Free Fonts
Help Working with InDesign Templates
We’ve put together a collection of helpful tips to make editing our InDesign Templates super easy. If you’re a newbie to Adobe InDesign it’s worth checking these out before starting work on your design.
How to Open an InDesign Template
Step 1. Download the file.

Step 2. Our InDesign templates are packaged and saved as ZIP files. If you have a Windows computer Right Click > Extract All before opening the InDesign file.
Step 3. If you’re running InDesign CS6 open the INDD version of the file. If you’re working with InDesign CS4, CS5 or CC open the IDML version.
How to Work With Layers in Your Template
Our InDesign templates are organized into layers, which group similar elements together. The layers in your document can be controlled from the Layers panel (Window > Layers).
Pro tip: Try locking the YOUR IMAGES HERE layer to save time when editing text. This will prevent you from accidentally moving the graphics out of position.

How to Change the Colors
The color scheme of this template can be edited from the Swatches panel (Window > Color > Swatches).

Pro tip: Editing a swatch will automatically update all instances of that color across your document.
How to Add Your Own Text
The text across this design can easily replaced with your own copy. Simple use the Type Tool (T) to select the text box you wish to edit. You can then add your own fonts and formatting. Read more about formatting text in InDesign.
How to Add Your Own Images
You’ll notice when you first open the template that all the image frames have a placeholder image. You can insert your own images by selecting the image frame and using File > Place to select a replacement image. Read our beginner’s guide to working with images in InDesign.
Pro tip: Do your images look blurry? Make sure your display is set to high-quality (View > Display Performance > High-Quality Display). To see more accurately how your design will appear when printed go to View > Overprint Preview.
How to Resize Pages in InDesign
It’s simple to change the width of the spine in your template by using the Page Tool (Shift+P). Select the tool and then click onto the spine to select it. You can drag the sides of the page to preview your desired new size. Hold down Alt or Option while you drag to resize the page.  Read more about resizing pages in InDesign.
How to Export Your Document for Printing
Once you’ve completed work on your template and you’re ready to print it you can head to File > Export. To create a print-ready file, choose Adobe PDF (Print) from the Format drop-down menu in the Export window. Make sure to include the bleed in your export options by checking Use Document Bleed Settings in the Export Adobe PDF window.  Read more about prepping your designs for printing in InDesign.
How to Change the Fonts in a Document
You can format individual items of text using the Type Tool (T) and Controls panel, which you’ll find running along the top of the InDesign workspace. The fonts in most templates are not set as InDesign styles. However, it’s easy to create a Character or Paragraph Style using existing text formatting, and then edit this from the Styles panels (Window > Styles). Read more about editing Styles in InDesign.
Discover more advice for InDesign beginners on our Tutorials page. Or why not seek out inspiration about typography, layout design and much more right here.